
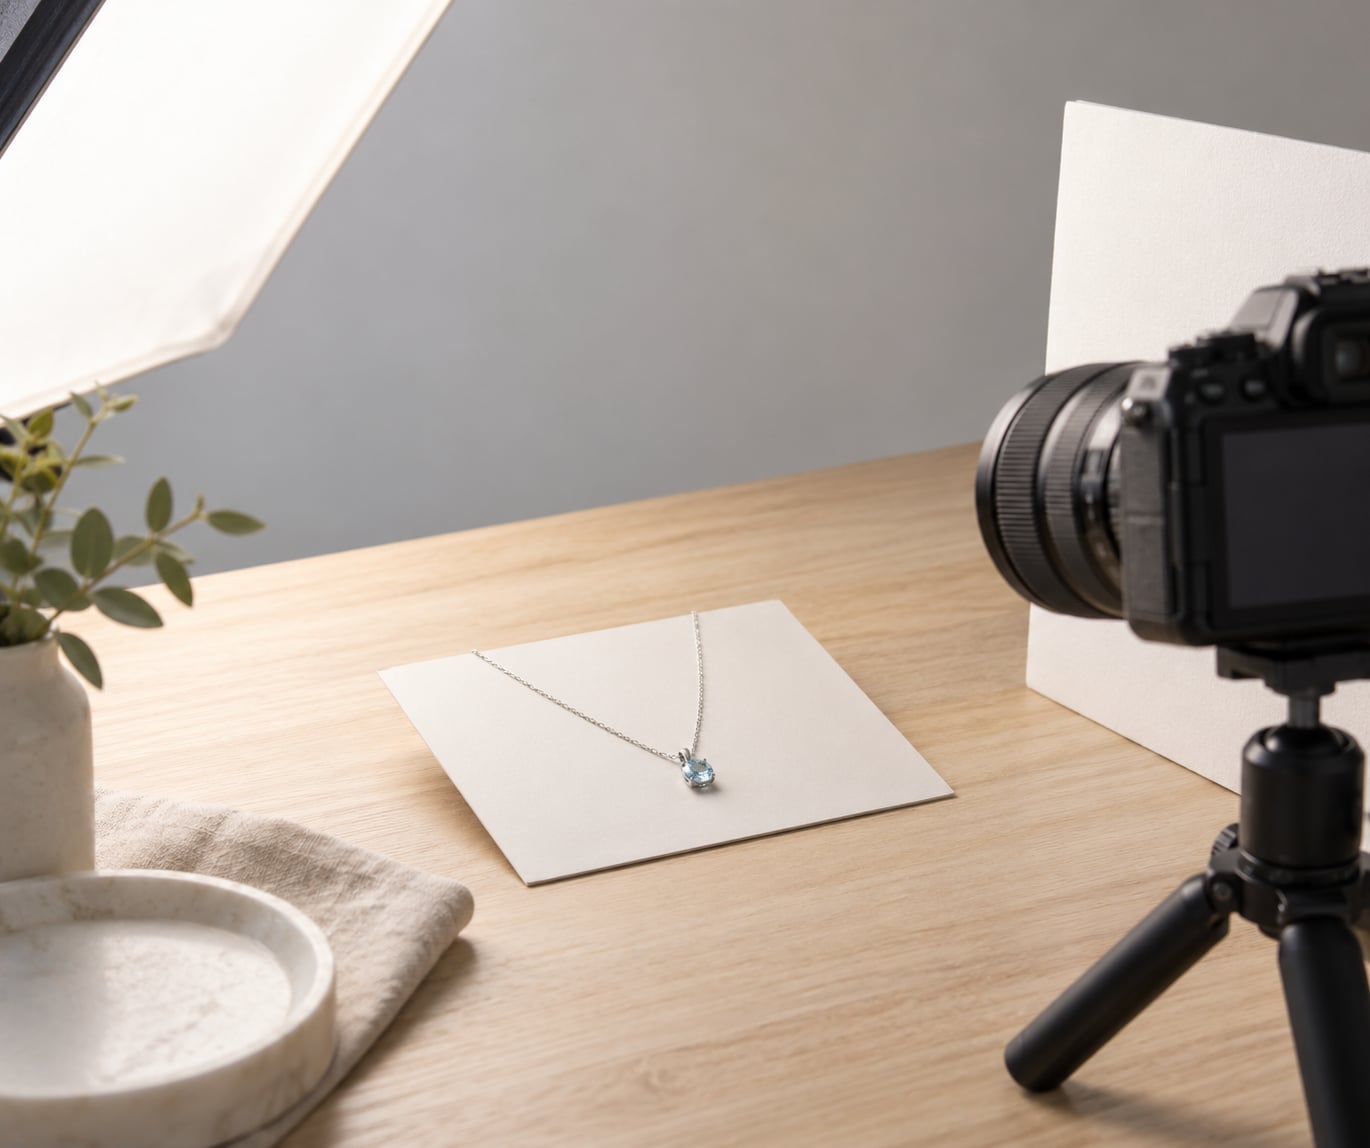
You can photograph jewelry at home and get results people pay studios for, and it comes down to three things: soft diffused light, a stable support for the camera, and sharp focus. Avoid direct sunlight and the on-camera flash, both of which blow out metal and put a hard glare across a stone.
Set aside about an hour for the first session. Once the setup is built you can knock out a piece in ten minutes, and the difference between a cheap-looking photo and a good one is usually a ten-minute adjustment rather than new equipment.
Below is the workflow I use: prepare, light, set, shoot, edit.
Table of Contents
- What You Need Before You Photograph Jewelry at Home
- The Step-by-Step Workflow
- Common Mistakes and How to Fix Them
- Frequently Asked Questions
- Can I photograph jewelry at home with just a phone?
- How do I photograph jewelry without harsh reflections?
- What is the best background for photographing jewelry?
- How do I make gold and silver jewelry look sharp?
- Should I use natural light or artificial light for jewelry photography?
- How do I make jewelry photographs look professional without a studio?
- Conclusion
What You Need Before You Photograph Jewelry at Home
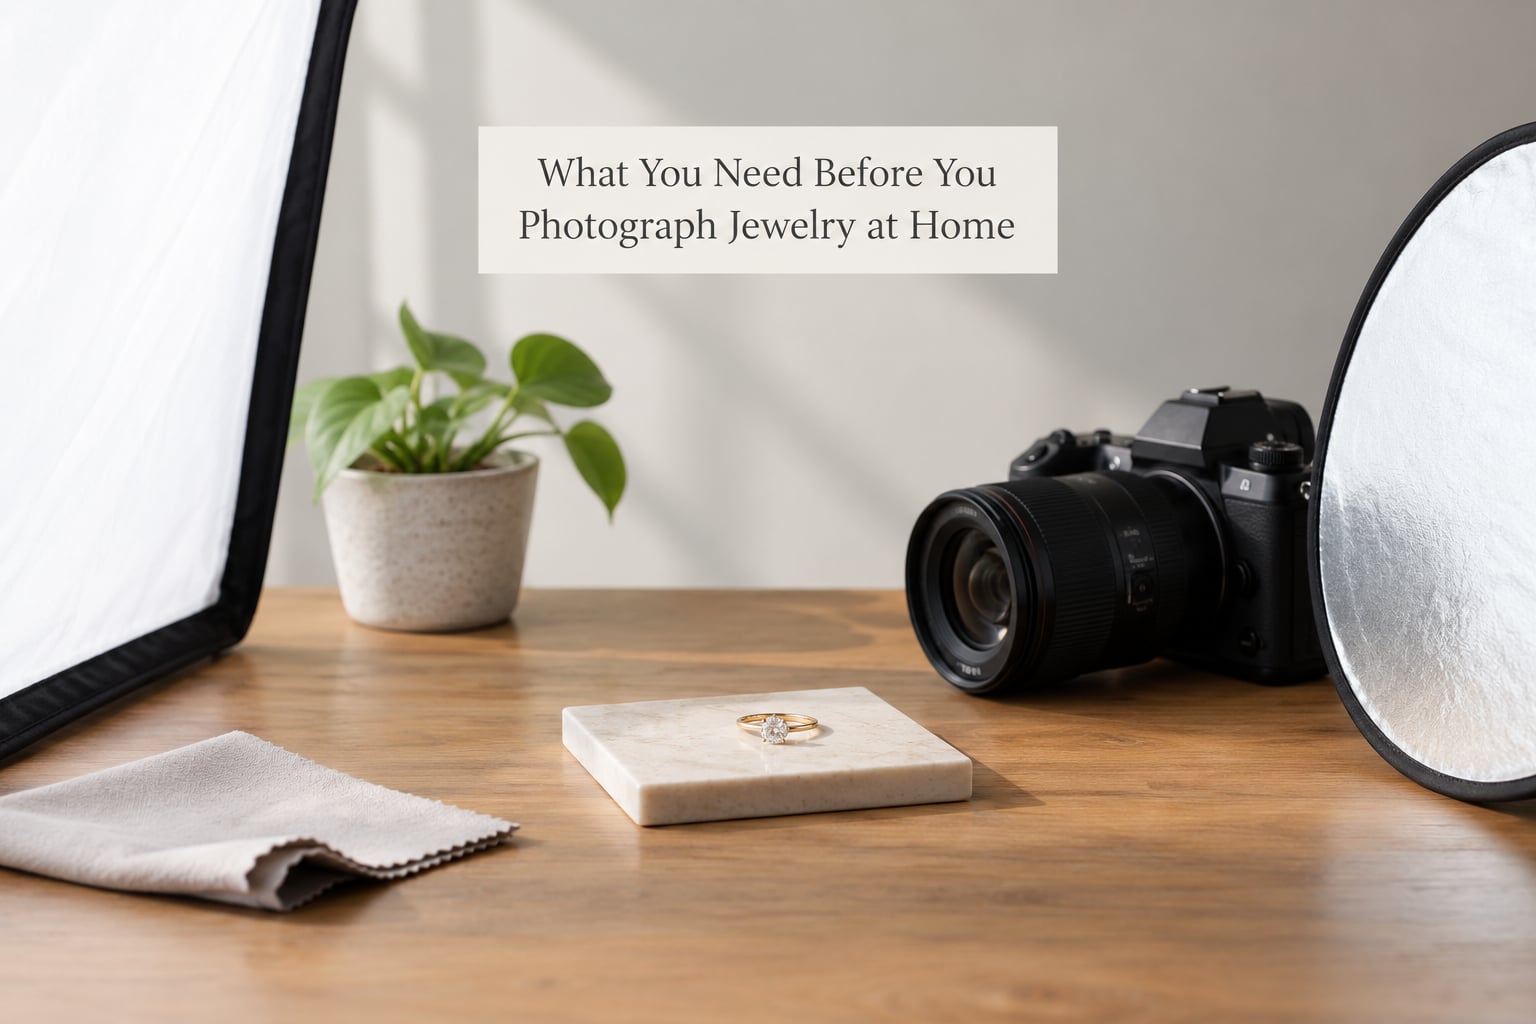
None of this is expensive, and most of it already exists in your house. The short version: you need one large soft light, something to hold the camera still, a plain surface, and a way to keep the piece clean. If you want the full room laid out rather than a corner of the kitchen table, start with how to build a home photo studio on a budget.
Light
The single most important item. You need a source that is large and close, because metal and stones are mirrors and a small light source reflects as a hard, ugly hotspot. A north-facing window with a net curtain or sheer blind across it is the classic free option. A cheap softbox or a LED panel behind diffusion paper does the same job on a dark afternoon.
The worst choices are direct sun, bare overhead bulbs, and the pop-up flash on your own camera. Skip all three.
Support and camera stability
A tripod is the answer, and any tripod works. A tabletop mini tripod with a ball head, a stack of books with the camera balanced on top, or a beanbag all do the same job. If nothing else, rest the camera on a folded towel against something solid.
As for the camera: a recent phone with a 2x or 3x lens will out-shoot an old point-and-shoot. A mirrorless or DSLR with a macro lens is a step up, not a requirement. Megapixels matter far less than focus and light.
Cards, backgrounds and posing help
Two pieces of card do most of the reflection work. White foam board lifts shadows on the shadow side; black card or black foam absorbs light for negative fill and makes metal edges read sharply. Black foam is also the fix when a dark or glossy object keeps going flat and shapeless, which is covered in how to photograph black objects. A piece of white paper taped over an existing photo or piece of furniture gives you an infinity curve, so there is no visible horizon line behind the piece.
You also want double-sided tape, museum putty or dental wax to prop pieces upright, a soft microfiber cloth, and a blower bulb. For earrings, earring posts and a small jewelry stand mean you never have to hold them in mid-air. A cotton swab cleans between stones.
Editing
Lightroom, Snapseed, and GIMP are all free and all more than capable for this work. The built-in editor on your phone is enough for cropping and exposure if that is genuinely all you need.
The Step-by-Step Workflow
How to photograph jewelry at home, in order: clean and pose the piece, build the light, lock focus and exposure, shoot a consistent set of frames, then correct color and crop. Each stage has a check that tells you it worked. If a stage is not right, the next one will not save it, so fix what you can see before moving on.
1. Prepare the Jewelry and Background
Start with the piece itself. Wipe it with a dry microfiber cloth, blow dust off with the bulb, and clean between the stones with a barely damp cotton swab. If you handle it with bare fingers, oil from your skin shows up as a smeared reflection in every close shot, so handle it by the setting or wear cotton gloves.
Lay your pieces out in shooting order before you touch the light. It saves twenty minutes of re-posing the reflector every time you swap a necklace for a ring.
Pick a background that contrasts with the metal. Silver and white gold need a darker or mid-grey ground so the edges separate; yellow gold and rose gold look good on cream, deep green, or charcoal. A pure white background is a real option, but it is harder than it looks because you then have to control every reflection and every shadow in the frame, and the metal has nothing to sit against visually. If you are set on white, work through how to photograph white on white first.
Decide the pose before you build the light, because the pose decides where the light goes. There are four that work:
- Worn. A model, hand, wrist or neck. Sold on every handmade listing, and the only honest way to show how a piece hangs.
- Flat lay. Laid straight and photographed from directly above. Simple, popular for necklaces laid in a loose curve. Do not cram the chain into a tight ball; let it fall naturally or the piece reads as smaller than it is.
- Suspended. Hung from a small hook or a stand so the piece looks like it is floating. This is the effect jewelry sellers ask for most often, and it needs a white background with a soft shadow directly under the piece. That shadow is what creates the float.
- Upright. Held vertically with museum putty, wax or an earring post. Ideal for rings, earrings and bracelets that have a flat front. Rings look best standing at a slight angle rather than flat-on, so you catch the band and the stone at the same time.
For a pair of stud earrings, a cardboard strip with two posts taped on holds them level and hands-free. For a necklace, a plain white card painted matte is better than white paper, which bows and throws creases into the light.
2. Set Up Soft, Controlled Lighting
Put your largest light source at 45 degrees to the piece and slightly above it. That single angle gives you shape: a highlight on one side that says the metal is curved, and a soft shadow on the other that says the piece sits in space rather than floating in a void.
Diffusion is the whole game. If you are using a window, put a net curtain, sheer blind or even a sheet of white paper between the glass and the jewelry. If you are using a softbox or panel, tape two sheets of baking paper over the front. Photographers on r/AskPhotography keep repeating the same thing in slightly different words: thicker diffusion and a visible gradient beat a clean, small, hard light every time.
Now shape the reflections with the cards. Put the white foam board on the opposite side from the main light to lift the shadow side, a few inches away, and move it closer for more fill. Put the black card on the far side or just out of frame to darken an edge. Black card is what makes a silver band look like silver instead of white plastic.
Last, put your own reflection out of the picture. Curved metal reflects whatever is in front of it, including you, your phone, and the ceiling. If you see yourself in the piece, move the light, not yourself, and if that does not work, cut a hole in a card and shoot through it. That trick is the one jewelry makers mention most often for getting a reflection-free shot without moving the whole setup.
Check the light by taking one test frame and checking the histogram. The metal should hit near white but never clip, and you should still see detail in the brightest facet of a stone.
3. Choose the Right Camera Settings
Turn off the automatic everything if you can. Auto focus hunts on small shiny subjects, auto white balance corrects for one light source and leaves the other one wrong, and auto exposure blows out the highlight on a metal edge.
On a camera, start here and adjust from there:
- Aperture: f/8 to f/11 for most pieces. Stop to f/16 for deep, detailed shots such as pavé bands or pavé earrings, where you want the whole piece sharp front to back. Below f/5.6 the depth of field gets thin very fast at close range.
- ISO: 100. This is where you start, because noise in a magnified metal shot is very visible.
- Shutter speed: anything your tripod can hold. If the light is not bright enough, you are meant to fix it with light, not by speeding the shutter.
- White balance: set a custom value around 5500K under daylight-balanced light, or shoot RAW and fix it later.
- Focus: manual focus or single-point autofocus with a lock. Turn off autofocus on the camera and focus by hand at high magnification once you have a repeatable distance.
On a phone, tap the piece once to lock both exposure and focus, then shoot. Turn on the grid lines so you can straighten, and use burst mode for every frame so you can pick the sharpest one. Most phones have a manual-control app or a built-in pro mode that gives you the same aperture, ISO and shutter values. If your phone has a 2x or 3x optical lens, use it rather than digital zoom, which crops a soft image.
One more thing on focus: for very small pieces, your phone may not be able to focus closer than about 8 to 10 cm. If it cannot get sharp, shoot a slightly wider frame and crop, rather than pushing the phone in until it searches.
4. Compose and Photograph the Jewelry
Fill the frame generously. Jewelry photographed small in a big empty frame looks like an afterthought, so move in until the piece fills most of the width and crop later. Leave a little breathing room on one side rather than centering everything by default, and let the piece sit near a third of the frame rather than dead middle.
Shoot from a 45-degree angle as your main view. Straight-on flattens a ring, and from above you lose the profile of a stone. From 45 degrees you see the face of the piece and the depth behind it at the same time.
Work through a consistent set for every piece, and you will have a consistent set for a listing:
- One hero frame, 45 degrees, filling the frame.
- One straight-on front view.
- One close detail of the setting, the stone or the maker’s mark.
- One worn or in-context shot, so buyers can see scale.
- One shot against a second background or with a prop, if you have one.
That is five frames per piece, and it is the answer to how many images a listing actually needs. Three good ones beat ten soft ones.
For the floating look, keep the piece a few centimeters off the surface and place one soft shadow beneath it. If the piece floats with no shadow at all, it reads as a cutout and looks fake. If the shadow is hard and dark, it looks pasted. A short piece of white card that curves up from the surface gives the soft gradient shadow that works.
Take a duplicate of every hero frame with the light moved to the opposite side. Metal looks different from each side, and one of the two will be the shot you actually want.
5. Edit for Accurate, Polished Images
Edit the frame you are proud of, not the frame you are forced to use. Set the white balance first, using a tool that samples an area of neutral material in the frame, because everything you do afterward depends on color being right. A piece of putty, a ceramic tile or a white card in the shot gives you a reference.
The recurring complaint on r/CraftFairs and r/Benchjewelers is that silver comes out orange or gold, and the cause is almost always tungsten room light mixed with window light, with the camera auto-white-balancing to the window. Fix it in the edit by cooling the image until the metal reads neutral again.
After that:
- Pull back the highlights first, then lift the shadows. Metal clips to pure white easily and the lost detail cannot be recovered.
- Add a little contrast so the metal separates from the background.
- Crop square or to a consistent ratio, and straighten the background line.
- Use a spot healing brush on dust and fingerprints. Ten seconds of cleanup saves an hour of reshooting.
- Sharpen last, lightly, on the detail view rather than the hero frame.
Keep the piece’s real color and real proportions. If you need a white balance or exposure change big enough to visibly alter the color of the metal, the problem belongs in the lighting, not the edit. The rule jewelry makers repeat is that you should never make a piece look like something it is not, because that is how you end up with a return.
Common Mistakes and How to Fix Them
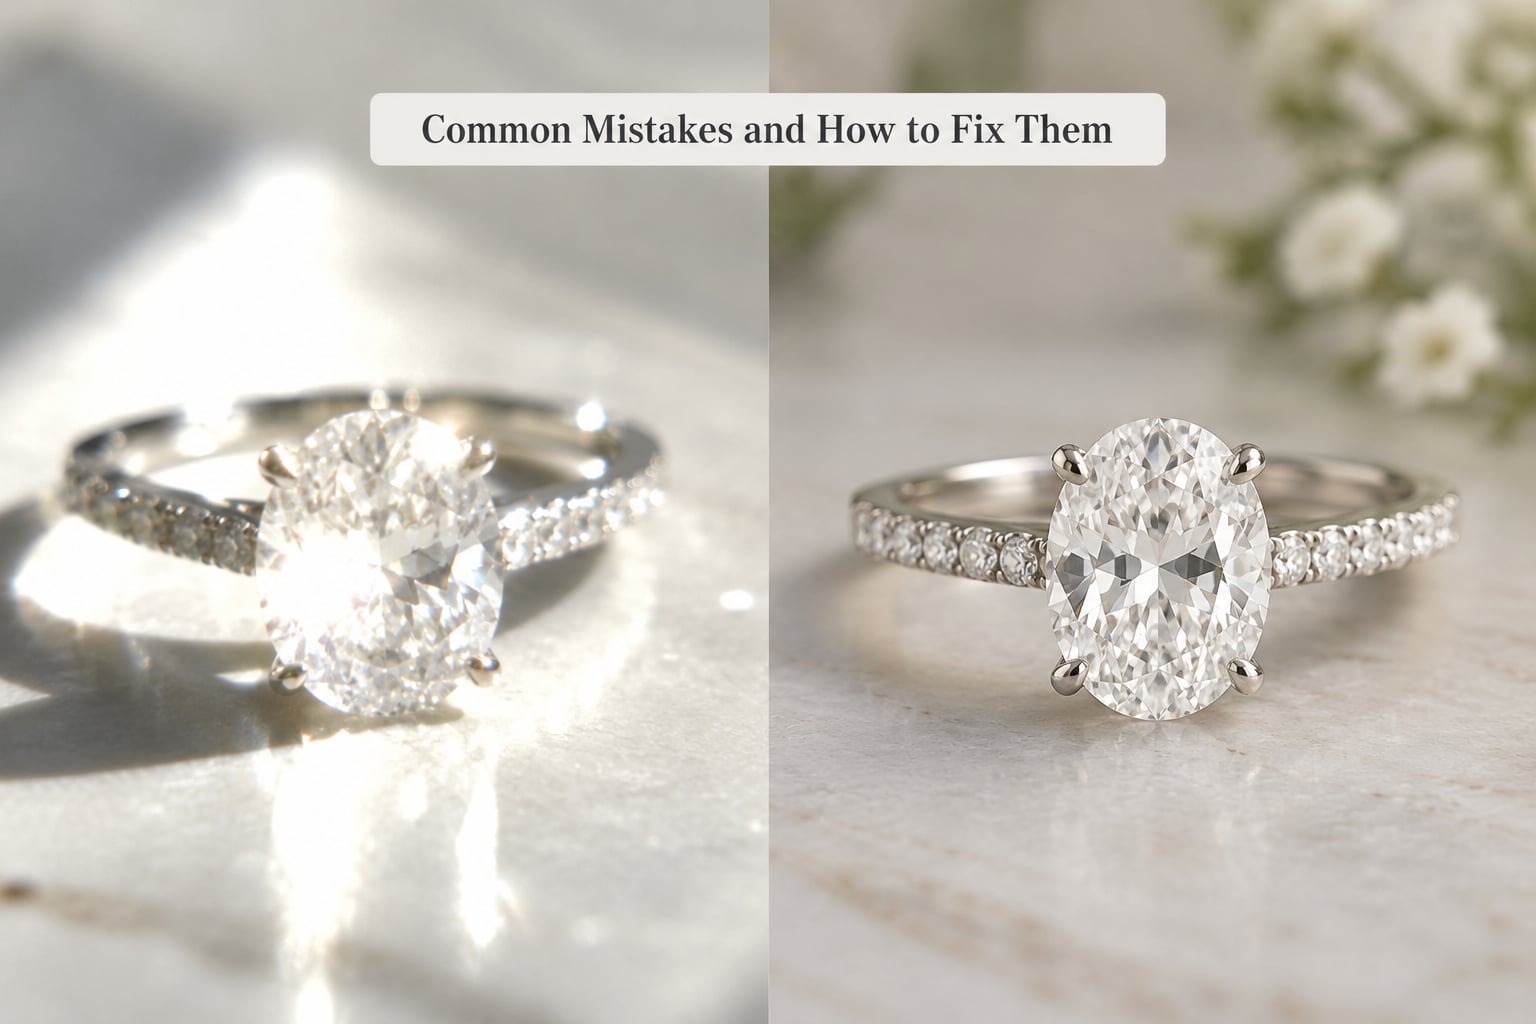
Almost every bad jewelry photo traces back to one of eight things. The fix is usually five minutes of work.
Blown white spots and hard glare
A small, close light source reflected off a curved surface. Move the light further away and make it larger, add diffusion, or angle the light so its reflection lands off the part of the piece you care about. Never fix glare by turning brightness down in the edit, because the highlight is already clipped.
Fingerprints and dust
Handled with bare fingers and shot under a raking light where you can see every mark. Clean before you shoot, not after, and keep cotton gloves within reach of the piece.
Soft focus and camera shake
Two different problems that look identical. Shake is fixed by a tripod and a self-timer or remote; focus is fixed by switching to manual focus, stopping down, and choosing a single AF point. Test which one you have: if the whole image is soft including the background, it is shake.
Silver that looks orange or gold
Mixed color temperatures, or an auto white balance chasing one light source. Shoot RAW, set a fixed 5500K value, and use only one color temperature in the setup. The advice from metalsmiths is consistent: keep every light in the scene the same temperature and never mix bulbs with daylight.
Dark, muddy metal
Negative fill doing too much, or no fill card at all. Silver needs something bright to reflect. Put a white card where the metal can see it and let it work; if the piece is still dark, the problem is the background, not the exposure.
Hot, distracting shadows
One bare light and nothing to fill the other side. Add white card opposite the main light, and diffuse harder. If you need a real gradient on the background, curve a piece of card up at the back of the surface and let the falloff happen on its own.
A busy background
Pattern, wood grain, or a color close to the metal. Go with a plain surface, and if you want texture, add one prop, not five. Complementary colors work, but the prop should sit away from the piece so it does not merge with it.
Over-editing
Saturated colors, heavy clarity, aggressive sharpening on a metal edge, and backgrounds removed so aggressively you can see the halo. Pull those sliders back. Post-processing should clean and correct, not restyle.
One more to keep in mind, from the critique threads on r/photocritique: check the horizon and the edges before you do anything else. A straight background line and a clean frame edge do more for a photo than a heavy preset.
Frequently Asked Questions
Can I photograph jewelry at home with just a phone?
Yes, and most people should start there. A recent phone with a 2x or 3x optical lens, a window with a net curtain across it, and a small tabletop tripod will produce clean, sharp product shots. Tap the piece to lock exposure and focus, turn on the grid lines, shoot in burst, and set a fixed white balance in a manual app or correct it in editing. Avoid the on-camera flash entirely, since it creates the glare that makes cheap-looking images.
How do I photograph jewelry without harsh reflections?
Make the light source big and put it far enough away that its reflection lands off the curved parts you want to see. Diffuse everything with a net curtain, sheer blind or baking paper taped to a softbox. Use a black card on one side to darken an edge and a white card on the other to lift a shadow. If you still see yourself or your phone in the metal, shoot through a hole cut in a card rather than moving the whole setup.
What is the best background for photographing jewelry?
A plain surface with a color that contrasts with the metal, so the edges separate. Silver and white gold sit well on mid-grey, charcoal or black. Yellow and rose gold look good on cream, deep green or warm grey. White is possible but harder, because you must control every reflection and shadow, and the piece has nothing to separate against. A sheet of paper taped over something larger gives you a curved infinity background with no visible horizon line.
How do I make gold and silver jewelry look sharp?
Stop down the aperture, use a tripod, and focus manually. Start at f/8 to f/11 and go to f/16 for pavé or highly detailed pieces, keeping ISO at 100. If you are on a phone, tap to lock focus, hold the camera still on a support, and shoot in burst mode so you can choose the sharpest frame. Check the image at 100 percent on your screen, because small pieces hide softness until you zoom in.
Should I use natural light or artificial light for jewelry photography?
Both work, and consistency matters more than the source. Window light is free and soft, but it changes through the day and picks up a color cast, so shoot in a consistent spot and set a fixed white balance. A softbox or LED panel is repeatable and is what most sellers end up buying. What does not work is mixing the two, or using a bare bulb. Whatever you choose, use one color temperature and diffuse it.
How do I make jewelry photographs look professional without a studio?
Photograph every piece the same way, in the same light, with the same framing, and shoot a set of views rather than a single frame. One hero shot at 45 degrees, one straight-on view, one close detail, and one worn or in-context shot will read as a professional set. Clean the piece and the background before every session, keep the camera on a tripod, and correct the white balance so the metal color is accurate.
Conclusion
To photograph jewelry at home, you need one large diffused light, a stable support for the camera, and manual control of focus and exposure. Everything else is adjustment.
Start with the three things that change the most: clean the piece and lay out a background that contrasts with the metal, put your biggest soft light at 45 degrees with a white card opposite it, and set the camera on a tripod at f/8, ISO 100, with a fixed white balance. Shoot five frames per piece, the same five every time, and correct the color before you crop.
The first session will take about an hour. Every session after that takes ten minutes, and that is where the improvement comes from.