
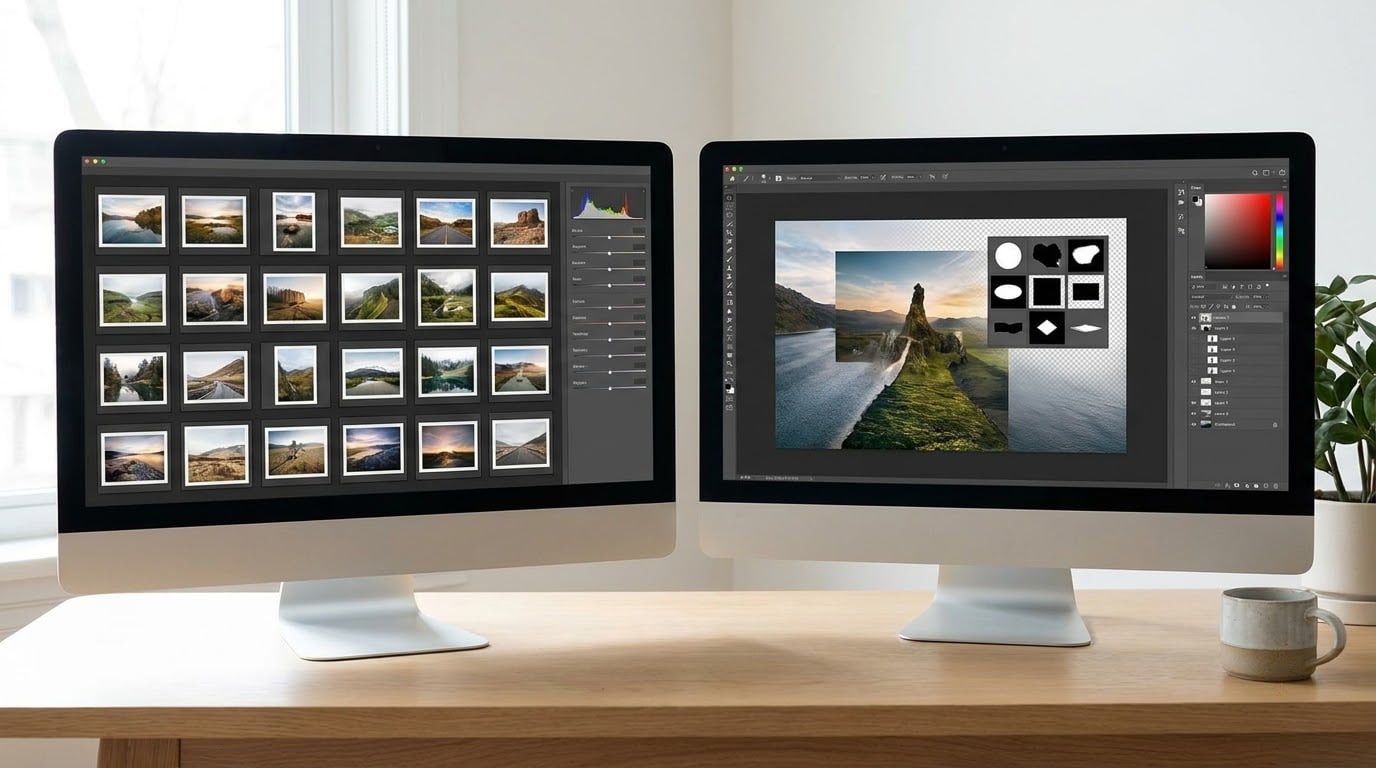
If you shoot more than a weekend’s worth of frames, Lightroom is the program that gets your files sorted, culled and corrected. Photoshop is the program you open for the twelve frames that need something no slider can do. The answer to the search question “Photoshop vs Lightroom” is not that one wins: it is that they sit at two different points in the same workflow, and the two stages have different costs, different learning curves and different failure modes.
To answer the most common version of the question directly: no, Photoshop cannot do everything Lightroom does. Lightroom’s catalog database, star ratings and flags, collections, sync across devices and batch presets have no Photoshop equivalent, because Photoshop was never built to hold an archive. What Photoshop adds is layer-based pixel editing, masks, selections, precision retouching and compositing, none of which Lightroom Classic exposes. So the real decision is whether your work is volume-first or image-first.
I have run both in the same catalog-based workflow for years, and the mistake I see most often is not choosing the wrong program. It is doing a Photoshop job slowly, one slider at a time, across 800 frames.
Table of Contents
- Photoshop vs Lightroom at a Glance
- What Is the Core Difference Between Photoshop and Lightroom?
- Which App Is Better for Organizing and Culling Photos?
- Which App Is Better for RAW and Tonal Editing?
- Photoshop vs Lightroom for Layers, Compositing, and Retouching
- Which App Is Better for Creative and Fine-Art Photography?
- Photoshop vs Lightroom for Workflow Speed and File Management
- Which App Has the Steeper Learning Curve?
- Which Should You Choose?
- Frequently Asked Questions
- Conclusion: Start With Your Editing Goal
Photoshop vs Lightroom at a Glance
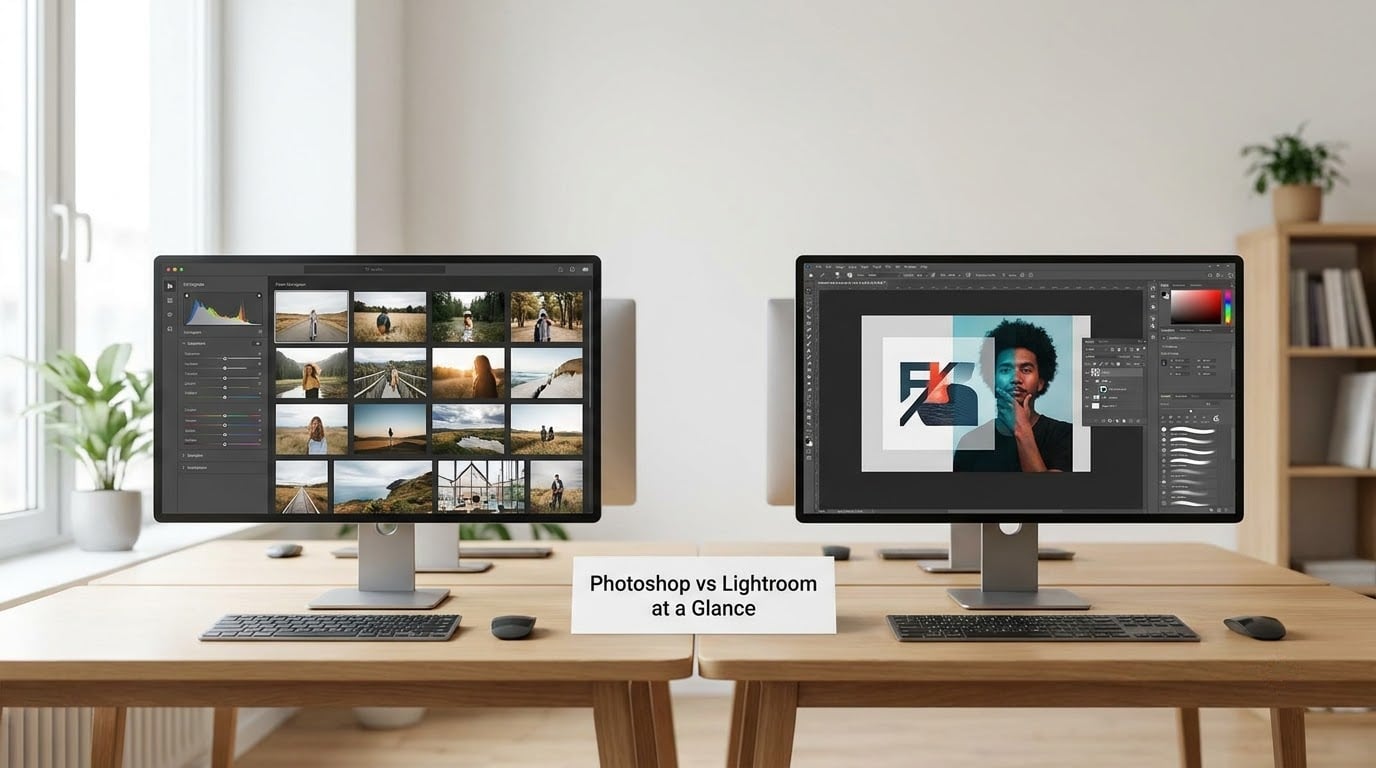
The table below is the short version. Interface names and the exact set of tools move between desktop versions and subscription tiers, so read it as the shape of the division rather than a feature checklist for one build.
| Criterion | Lightroom (Classic) | Photoshop |
|---|---|---|
| Primary purpose | Catalog, culling, RAW processing, non-destructive global and local adjustments | Pixel-level editing, layers, masks, compositing, retouching, text and vector |
| File handling | Keeps RAW files on disk, edits the data, writes adjustments to a catalog database | Opens a single file into a layered working document saved as PSD or PSB |
| Organization | Collections, keywords, star ratings, color labels, flags, smart collections | No archive; one open document at a time unless you use the sparse stack |
| Batch processing | Built in: paste settings, presets, sync settings, auto-sync on import | Actions and scripts, which is more manual and less precise across a shoot |
| Layers and masks | Masking inside a single image, plus local adjustment brushes | Full layer stack, layer masks, adjustment layers, smart objects, blend modes |
| RAW workflow | Native, fast, lens profile correction by default | Reaches RAW through Camera Raw, which shares most sliders but adds less batch control |
| Retouching | Object removal and healing available, but no dodge-and-burn freedom | Spot Healing Brush, frequency separation, dodge and burn on layers, precise masking |
| Typography and vector | None | Text layers, vector shapes, pen tool, live shapes |
| Learning curve | Lower entry point, faster feedback on a single image | Steeper, denser interface, many more ways to do the same thing |
| Best for | Wedding, event, sport, travel, studio volume work and long-term archives | Composites, product, fine-art manipulation, headshot retouching, graphics |
| Storage footprint | Catalog grows with the number of previews and metadata, RAW files stay where they are | Layered PSD and PSB working files add real weight on top of your originals |
What Is the Core Difference Between Photoshop and Lightroom?
Lightroom is a database with an editor attached. Photoshop is a canvas with an ecosystem attached. That single distinction explains almost every practical difference between them, including the features neither program does well.
Lightroom reads RAW files non-destructively: the adjustment values you move are stored in the catalog, not written into the pixels. Nothing is flattened unless you export a flattened file, and you can go back to any image years later with the original RAW data intact.
Photoshop edits pixels on a layered canvas. Every change is something you explicitly placed as a layer, masked or smart object, which is what makes heavy manipulation reversible and precise. That reversibility is not the same mechanism as Lightroom’s non-destructive editing; it is tracked step by step instead of tracked by a slider value.
They are designed to hand off. A selected image from Lightroom can open in Photoshop as a smart object, get edited as a layered document, save back into the catalog, and re-sync to your other devices. If you build a working system rather than picking a side, the choice stops being a subscription decision and becomes a routing rule.
Which App Is Better for Organizing and Culling Photos?
Lightroom wins this one, and it is not close. Collections, star ratings, color labels, flag and reject, keyword search and smart collections exist to answer one question: which of these 4,000 frames do I care about?
Culling is the term for that work, and it is a Lightroom-specific concept in practice. Culling 900 frames from a two-day wedding with keyboard shortcuts, then dragging the 40 rejects into a trash collection takes minutes in Lightroom. Doing the same in Photoshop means opening files one at a time into a canvas that was never designed to hold an archive.
Photoshop can sort, batch and script, but those are workarounds built on top of a document-based model. Reviewers and working photographers keep coming back to the same practical point: Lightroom is an image management system that edits, while Photoshop is an editing environment with no image management system at all.
If organizing and archiving is part of your week, our guide to organizing photos in Lightroom covers folder structure, naming and collection habits that keep a library from turning into a pile of hard drives.
Which App Is Better for RAW and Tonal Editing?
Lightroom is the better tool for the bulk of tonal work: exposure, white balance, tone curve, highlights and shadows, color grading, lens profile corrections and local adjustment brushes, all applied to many images at once.
Consider a black-and-white conversion from a fine-art landscape shoot. In Lightroom you pick a black-and-white mix panel, move five channel sliders, add a local adjustment for the sky, then sync those settings to the other 40 frames so the set stays consistent. That consistency across a series is the whole game for print work, and it is what copy-and-paste settings were built for.
Photoshop reaches RAW through Camera Raw, and it shares most of the same sliders. The difference is what happens next: whether you build a layer stack to shape that one image further, or apply the same setting to 200 more. If your saved presets already get you 90 percent of the way, you do not need the other 10 percent on every frame.
Lightroom’s object removal and healing have improved enough that reviewers no longer treat simple removals as a reason to buy Photoshop. That is a real change from the older rule, and it is worth knowing before you upgrade your subscription for it.
Photoshop vs Lightroom for Layers, Compositing, and Retouching
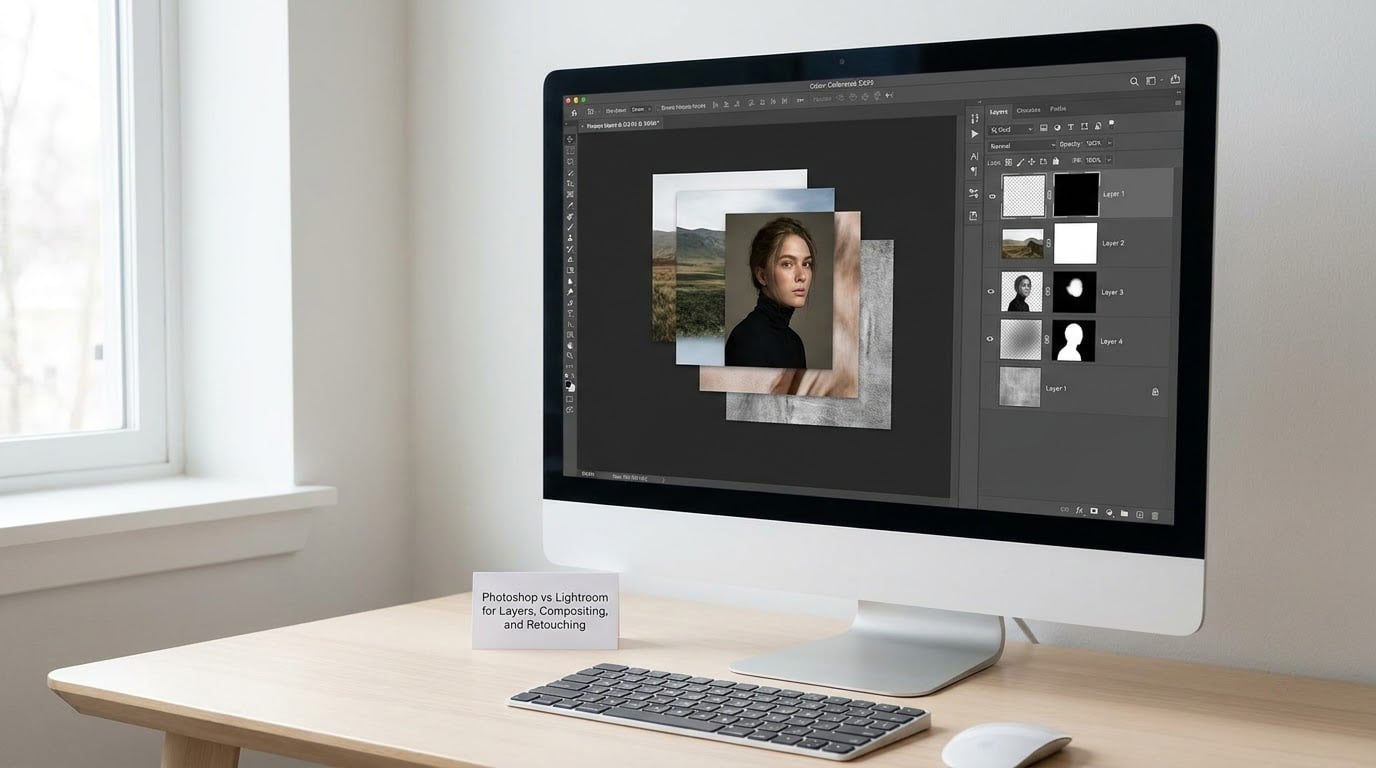
Photoshop wins this one outright. Layer stacks, layer masks, adjustment layers, smart objects and blend modes are the entire point of the program, and Lightroom Classic has no equivalent layer model to build a composite on.
That covers photomontage with several source images, cut-outs, texture and grain work, precision skin retouching with frequency separation, dodge and burn on layers, focus stacking and panorama merges, and anything where a client needs a title, a logo or a typographic layout baked into the file.
For a product shoot, the workflow usually looks like this: clean up and correct the base frame in Lightroom, open it in Photoshop as a smart object, composite two or three angles, match edge lighting with adjustment layers masked to each object, and flatten to a print-ready file. Our walkthrough of a simple Photoshop composite covers the layer and mask setup step by step.
The contrast with Lightroom is structural. Lightroom is catalog-first and adjustment-based: you edit an image without ever building a stack. Photoshop is stack-first: nothing is permanent until you flatten it, and the layer stack documents exactly how the image was built.
Which App Is Better for Creative and Fine-Art Photography?
For surreal work, experimental composites, black-and-white series and print sales, the answer splits along a line that surprises people: batch processing on one side, photomanipulation on the other.
Fine-art sets reward consistency. Twenty prints from one shoot need matched tone and matched color across the series, and Lightroom’s sync-and-paste workflow gets you there faster than any manual approach. When the print run needs specific output dimensions, sharpening for the paper stock and a soft-proofing check, Lightroom’s export presets handle it in one dialog.
Experimental and photomanipulation work goes the other way. Building a surreal image from six source photographs, painting over elements, compositing skies, or digitally painting light into a scene needs layers, masks and canvas space that Lightroom simply does not have. Pet and commercial photographers often say this directly: Lightroom is a great editor, and the creative flexibility Photoshop provides is what they actually want.
A practical hybrid is common in fine-art practice: develop the whole series in Lightroom, then open only the finalists in Photoshop and save each finished piece back as a new version, keeping the Lightroom catalog as the source of truth.
Photoshop vs Lightroom for Workflow Speed and File Management
Speed differences here depend on your library, your machine and your output format, so any number you read is somebody else’s computer. Test with your own files before you decide.
What you can say structurally: Lightroom does extra work up front, building previews and metadata for a growing catalog, so a first launch against a very large library takes a while. Photoshop opens one document and starts. Editing speed inside Lightroom depends on preview rendering, and smart preview options and cache size settings affect that more than raw CPU power.
File handling splits cleanly. Lightroom leaves your RAW files on disk and adds a catalog, previews and sidecar data. Photoshop adds working files: layered PSD or PSB documents that can be far larger than the flattened export. A set of heavy composites can add tens of gigabytes that Lightroom never asks for.
Export is where the difference shows most. Lightroom has presets for size, format and naming, applied to a whole batch in one pass. Photoshop exports one document at a time unless you script it, which is slower and less consistent for volume delivery.
Which App Has the Steeper Learning Curve?
Photoshop has the steeper curve by a wide margin. It opens with a dense interface and a large toolset, and beginners regularly report abandoning it at that point rather than after failing at a specific task.
Lightroom’s learning curve is shallower because the workflow is narrower: import, cull, adjust, export. You can get a good result on your first afternoon without understanding masks at all. Feedback also arrives faster, which keeps people moving instead of stalling.
The part nobody warns you about is that file management is the real skill. If you do not already keep your originals on a structured drive layout with backups, learn that first, because neither program rescues a chaotic folder tree.
A sensible path for most people: learn Lightroom first, build a consistent export habit, then add Photoshop when you hit a specific ceiling such as skin retouching, a logo in the frame or a multi-image composite. Take Photoshop first only if you already know you need compositing, graphic design or illustration work.
Which Should You Choose?
Choose Lightroom when your work is volume-first. You shoot weddings, events, sport, travel or studio sessions; you need to cull fast and grade hundreds of frames consistently; you want an archive that still makes sense in ten years; or you sell prints from a series and need the whole set to match.
Choose Photoshop when your work is image-first. You build composites, retouch skin to a commercial standard, blend interiors, mock up products, place type on images, or make fine-art pieces that combine several sources. If a creative photographer’s day is one image taken as far as it will go, Photoshop is the tool.
Choose both when your catalog-to-composite path matters: cull and correct in Lightroom, then refine only the frames that need it in Photoshop. This is the arrangement most working professionals converge on, and it is what the community consensus describes: take the photos as far as you can in Lightroom, then send them to Photoshop.
First step, whichever you pick: run the same photograph through both programs. Open a file you have already edited, try the same correction in each, and see which one you would rather live with for the next five years.
Frequently Asked Questions
Is Photoshop better than Lightroom for photo editing?
Neither is better in general; they solve different problems. Lightroom is better when you have many images to organize, cull and grade consistently. Photoshop is better when you have one image that needs layers, masks, precision retouching or compositing. Most professional photographers use Lightroom first and open Photoshop only for the frames that need extra depth.
Is Lightroom or Photoshop better for beginners?
Lightroom, for most beginners. Its workflow is narrower, its interface is calmer and you get a usable result on your first afternoon, which keeps you practicing. Photoshop has a much denser toolset that regularly stops new users before they start. Learn Lightroom first, then add Photoshop when a specific limit gets in your way.
Do I need Photoshop if I already have Lightroom?
Only when your work needs it. Object removal and basic healing now happen inside Lightroom, so simple cleanups are no longer a reason to subscribe. Photoshop becomes necessary for composites, frequency-separation retouching, dodge and burn on layers, focus stacking, vector work and text. If none of those appear in your work, one program is enough.
Can Photoshop and Lightroom be used together?
Yes, and that is the intended workflow. Culling and global edits happen in Lightroom, then you select the keepers, right-click and choose Open in Photoshop. The file arrives as a smart object, you work on a layer stack, and saving puts the result back in the catalog where export presets and sync still apply.
Which program is better for photomanipulation and composites?
Photoshop, without much debate. Compositing needs several source images combined, which requires a real layer stack with masks, adjustment layers and blend modes. Lightroom has no traditional layer model, so multi-image photomanipulation is not something it can do. For fine-art and creative work, Photoshop is the practical choice.
Which is better for selling fine-art prints?
Use both, in a specific order. Build and correct the series in Lightroom so tone and color match across the whole edition, then open the finalists in Photoshop for print preparation, added elements or fine retouching. A serial edition needs consistency from Lightroom; the individual print file needs Photoshop’s control over dimensions, sharpening and compositing.
Conclusion: Start With Your Editing Goal
Lightroom for organizing, culling, RAW processing and edits that have to look consistent across hundreds of frames. Photoshop for layers, compositing, retouching and experimental image-making. If your answer is both, the practical reality is that most working photographers start in Lightroom and open Photoshop for the handful of frames that need it.
So start with the work you actually have this month. If it is a big shoot, build the catalog and grade it in Lightroom. If it is one creative image you want to push further, open it in Photoshop and work on a layer stack. Then try the same photograph in both programs, since an hour of real testing will settle the debate faster than any comparison table.